Tag Archives: fall

Give Me S’more Love

S’mores are gooey goodness.

While many people consider them a summer ritual, for me it’s fall fare. I am far more likely to sit around a campfire when the temperatures cool off than I am on a hot summer night.

There is something so simple and special about a toasted marshmallow sandwiched between two graham crackers with chocolate. I love it. When I was a kid, I made basic S’mores but today I get creative with this treat. There are different flavored marshmallows on the market, a variety of graham crackers to choose from, different chocolates (I’m partial to dark chocolate), and my imagination.

If you’re only familiar with a traditional S’more, try a few of these ideas:

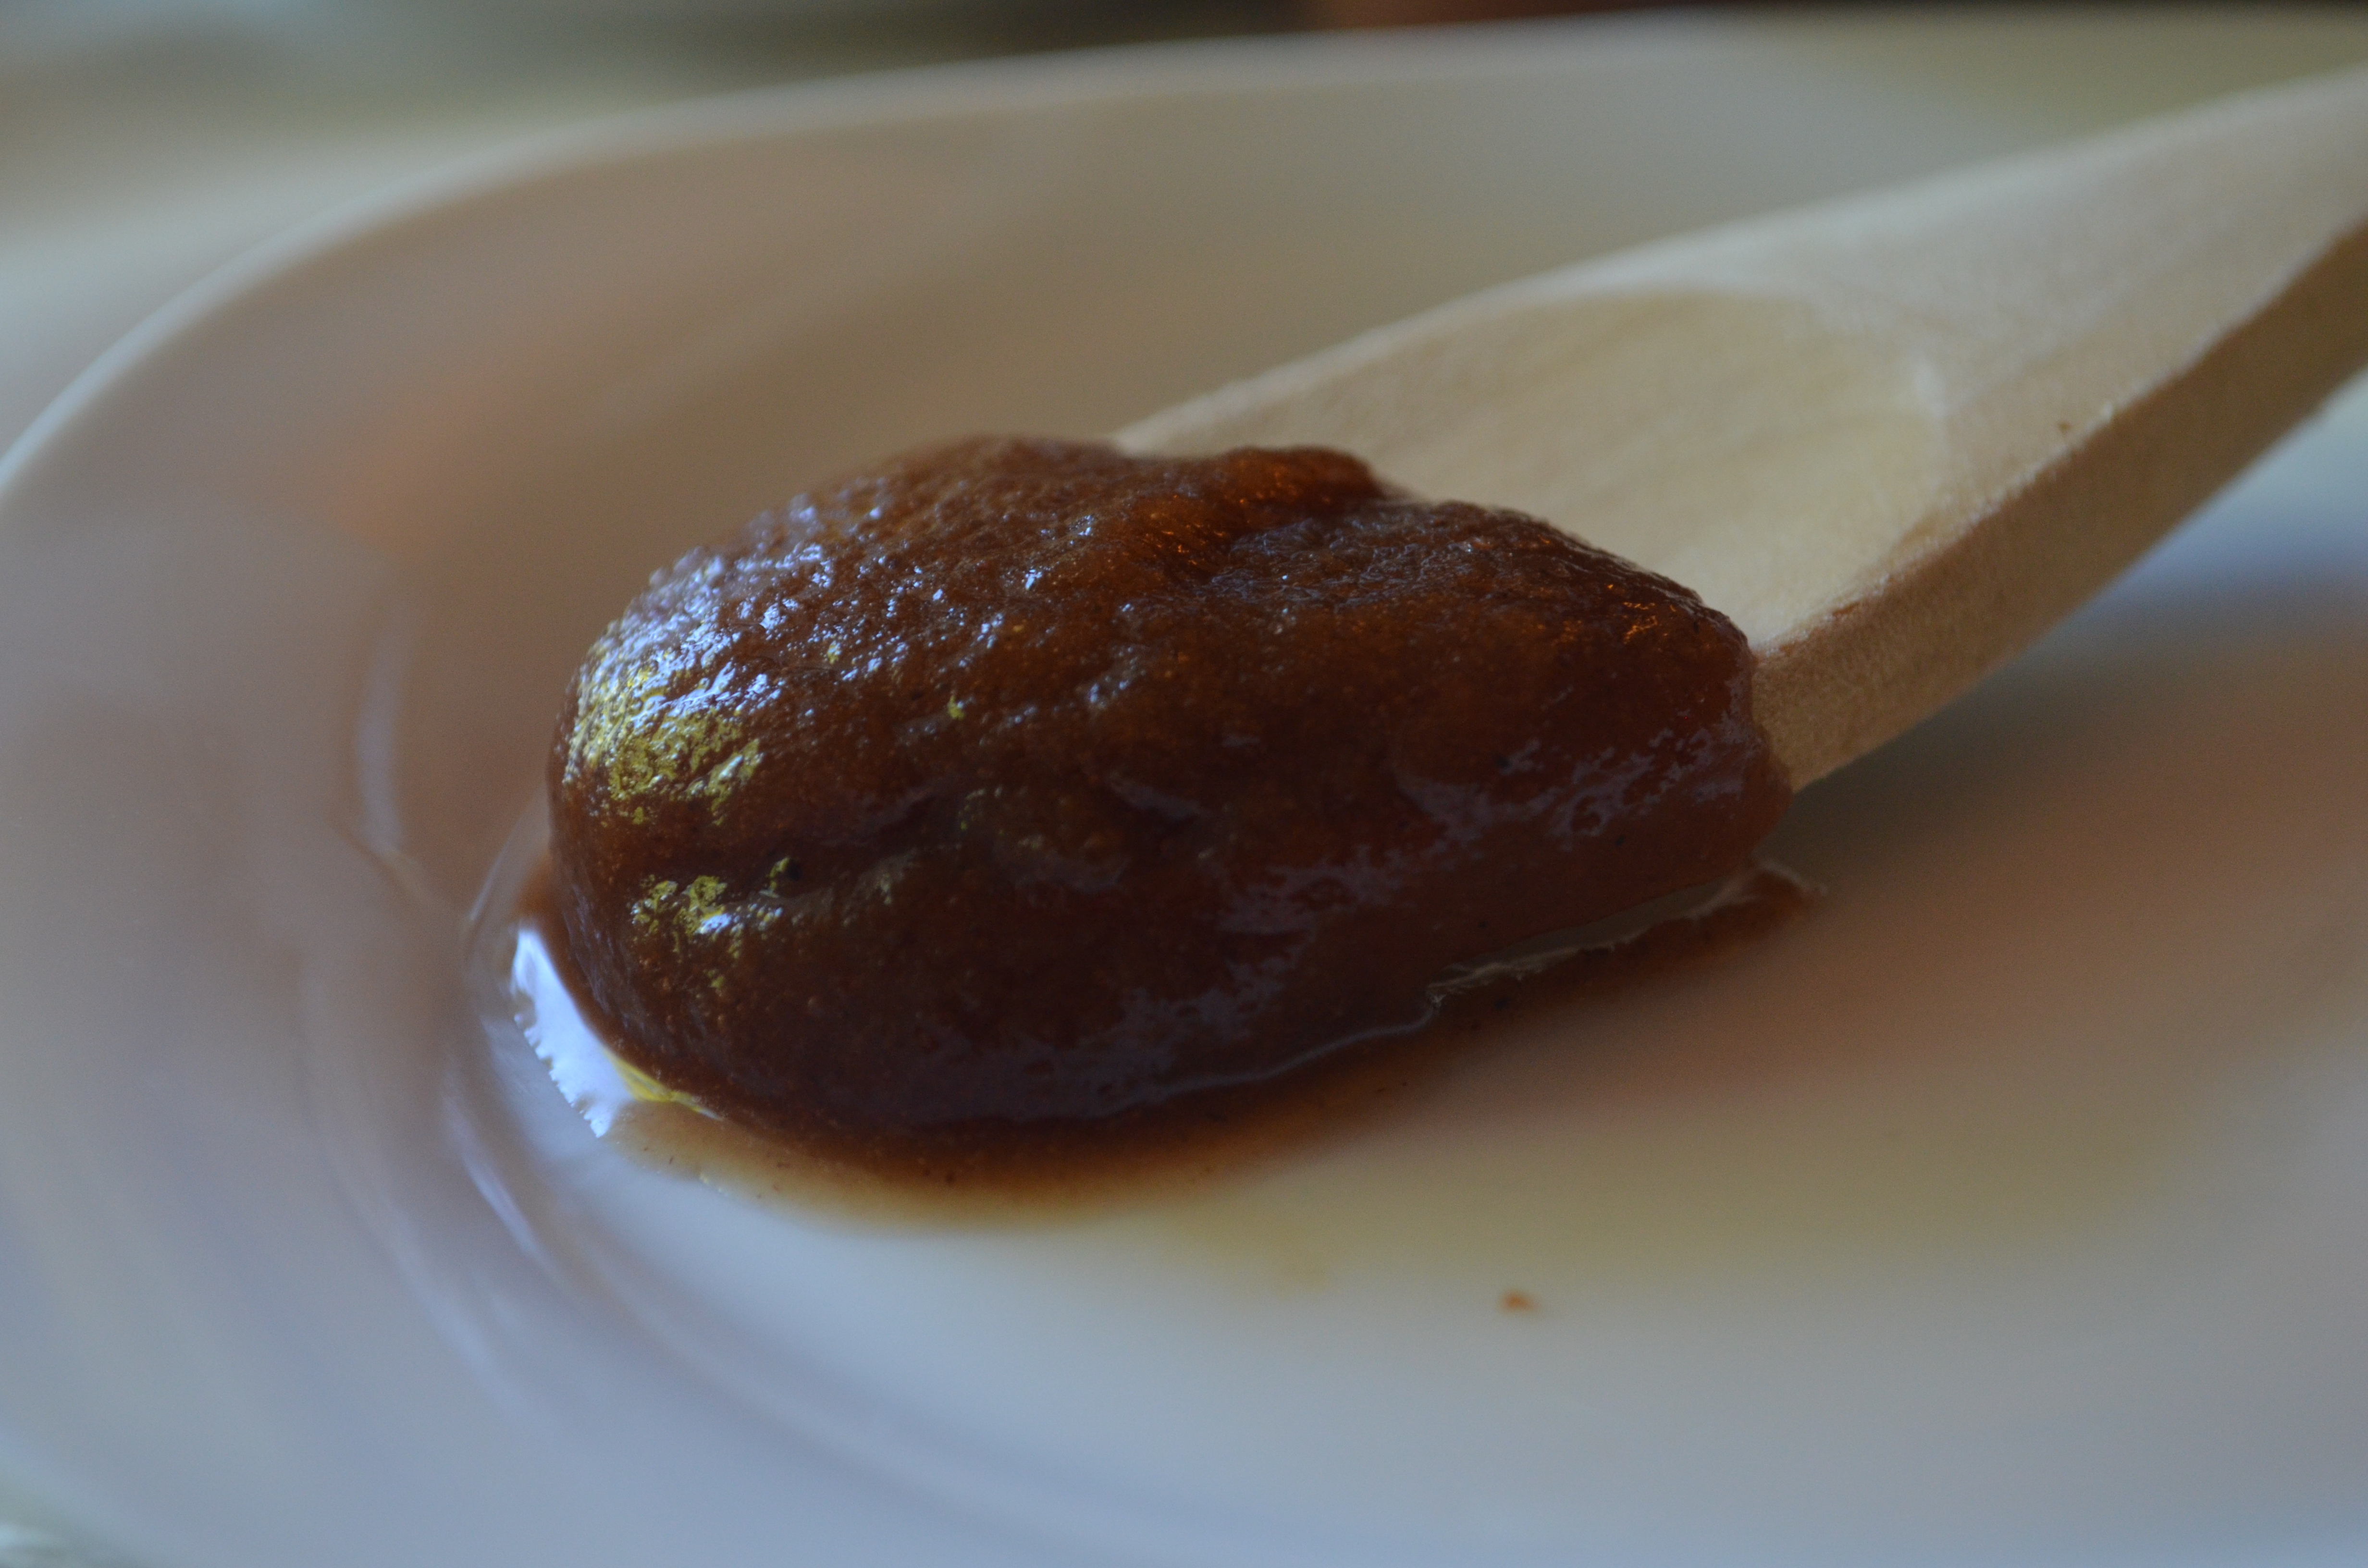
Use a cinnamon graham cracker topped with apple butter or pumpkin butter instead of chocolate and then add the toasted marshmallow.

Use pumpkin flavored marshmallows in the fall and pair it with white chocolate.

Create a S’more ice cream sandwich with a little vanilla ice cream, toasted marshmallow and a big drizzle of fudge sauce and caramel sauce. This is lovely! Eat it like a sandwich or use the graham crackers as a spoon.

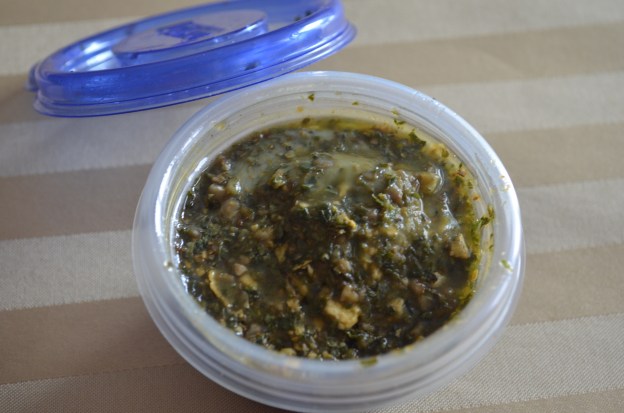
Use Ritz crackers instead of graham crackers for a salty kick. A little date jam or spread is great with the salt.

A thin slice of brie at room temperature with the chocolate and toasted marshmallow is excellent.

Use a chocolate graham cracker, dark chocolate and add a slice of strawberry on your S’more sandwich.

After you toast your marshmallow, roll it in shredded coconut and drizzle dark Hershey’s syrup on instead of using a square of chocolate.

smore-coconut

One of my favorite S’mores is Peanut Butter Banana because the peanut butter cuts the sweetness and adds richness, and I love bananas and chocolate.   Add a slice of candied bacon and call it “The Elvis.”

Use a variety of nut spreads on the graham cracker like almond or cashew; or skip the chocolate and use Nutella instead.

As you can see, there are so many combinations.

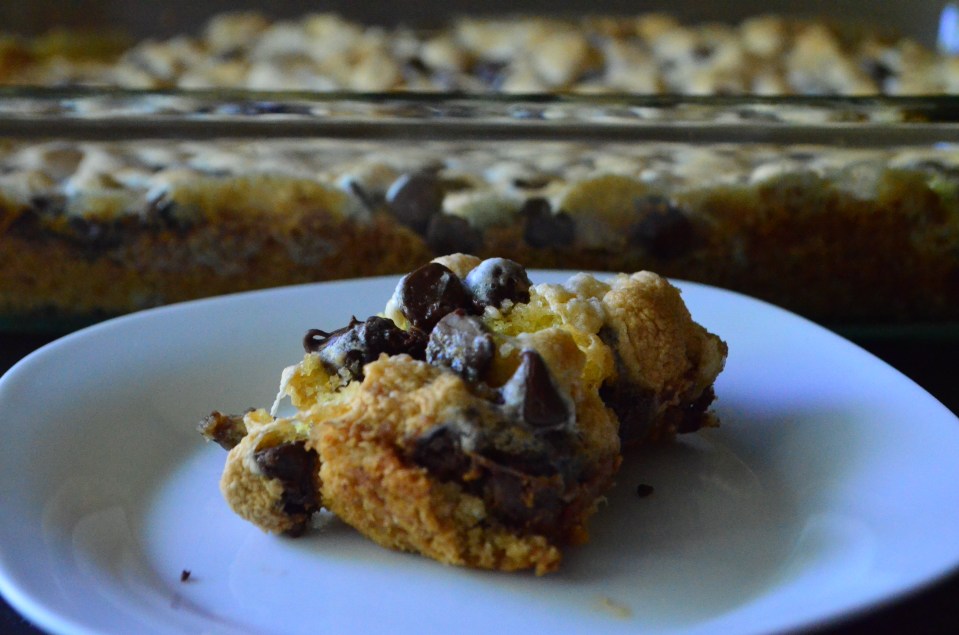
Aside from good old-fashioned S’mores, I wanted to share a few other S’more themed recipes like my  Easy S’more Bars. The name says it all. I start with a box of cake mix, mix it with eggs and butter and then spread it in a pan. I top that with chocolate and marshmallows and bake it. That’s easy!

dsc_0437-2

You can serve this dish warm or room temperature, see my notes in the instructions.

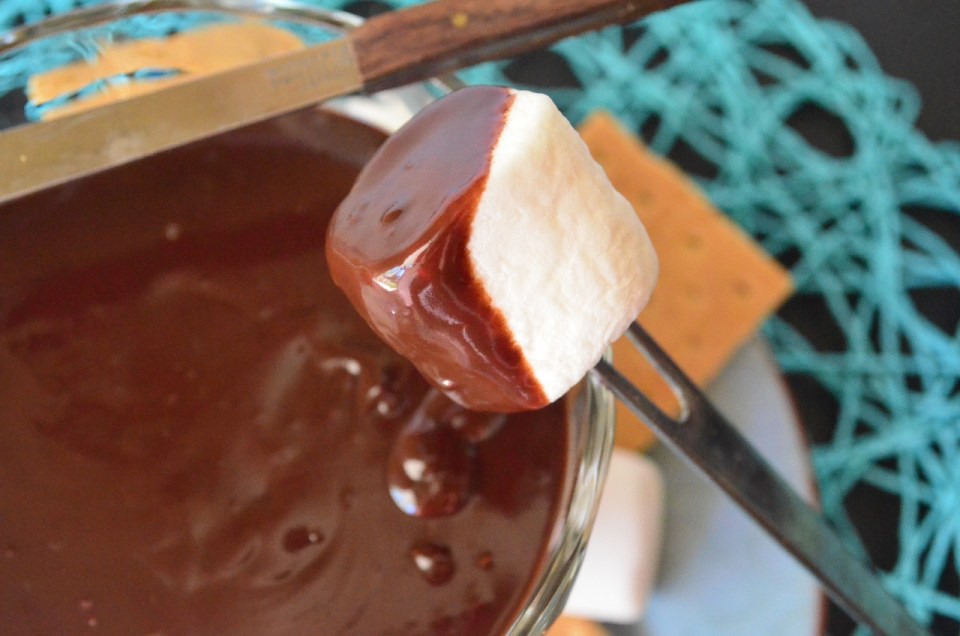
And finally, The S’mores Fondue is so decadent, quick, and perfect for a party. If you don’t have a flame to toast your marshmallows but still want the spirit of that dessert, this is the recipe for you. The fondue takes less than 10 minutes to make (it has only two ingredients) and then you dip graham crackers and marshmallows in the melted chocolate and it’s heavenly. If you don’t have a fire pit, live in an apartment or just don’t want to deal with fire, this is a great option.

dsc_0538-2-1280x848

I hope this gets you out of your S’mores comfort zone and you enjoy these recipes.

Peanut Butter Banana S’mores

10 graham crackers

5 tablespoons smooth peanut butter

10 thin slices of banana

5 large marshmallows

5 large pieces of dark chocolate (or your favorite chocolate)

Spread the peanut butter on only one side of the graham crackers and then top each with two slices of banana.  Set aside.

Toast your marshmallows to desired doneness and then sandwich one on a graham cracker. Add chocolate and close it to make a sandwich. Eat and enjoy. It’s messy so have a napkin handy.

dsc_0447-2

Easy S’more Bars

Serves 12-16

1 yellow cake mix

1 stick unsalted butter, melted

2 large eggs, beaten

2 cups chocolate chips

2 1/2 cups mini marshmallows

Preheat oven to 350 degrees.

Pour the cake mix into a medium bowl.  Melt the butter in the microwave and the pour it into the bowl. Add the beaten eggs and stir until combined. Coat a 13×9 inch pan with cooking spray. Spread the mixture in the pan using your hands to spread it out and press it down. Try to make it as even as possible. Sprinkle the chocolate chips and mini marshmallows over the top and bake it for 30 minutes. Cool completely before slicing.

Note: This dish is incredible warm out of the oven but it doesn’t slice well. If you are serving family and don’t care how it looks, you can serve it warm while the chips are melted, just know it will fall apart. It’s amazing with a scoop of vanilla ice cream when it’s warm though.

For proper bars, you must cool the dessert completely before slicing.
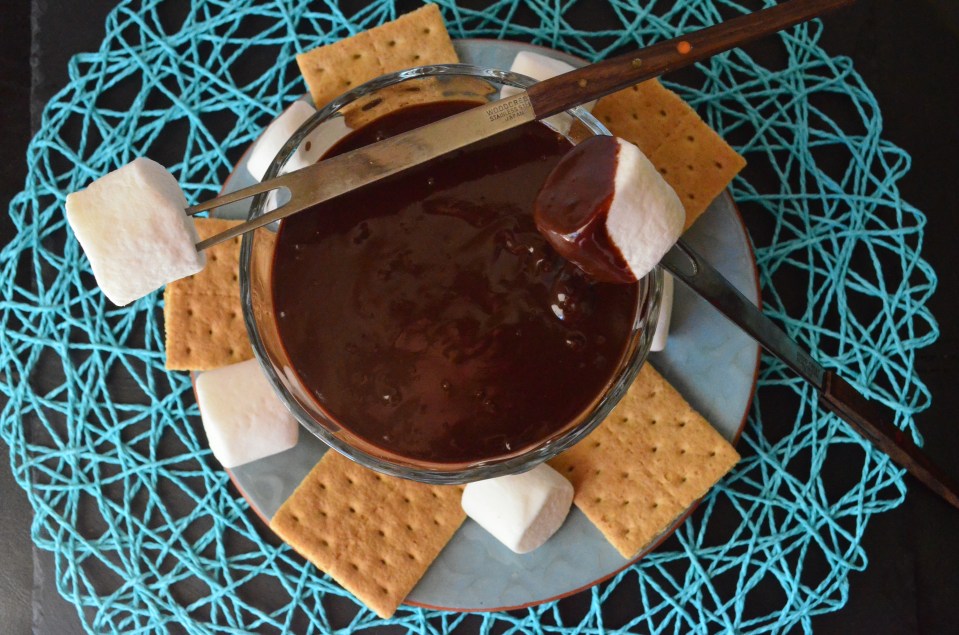
dsc_0537-2

S’mores Fondue

Serves 10

½ pint of heavy whipping cream

2 cups semi-sweet chocolate chips

1 bag or large marshmallows

1 box of Graham crackers

Sticks to skewer the marshmallows

This dish comes together quickly so you want everything ready for serving. It takes about 7 minutes total and then it’s ready to serve. I have fondue equipment, but if you don’t you can use forks to skewer the marshmallows or even wooden skewers.

Pour the heavy whipping cream in a medium pot and turn the heat to medium. When the cream just starts to form bubbles around the edges, stir in the chocolate chips.  Stir until the chocolate has melted and it is smooth. It will look and smell incredible. Immediately transfer it to a serving bowl. Surround the dish with marshmallows and graham crackers and serve.

smore-fondue-848x1280

Pumpkin Chili

This dish combines some of my favorite fall foods: pumpkin and chili.

I write a weekly column for The Joplin Globe, Claremore Daily Progress, and Ottumwa Courier and this week’s theme was pumpkins.

I love everything pumpkin. From pumpkin patches to carving them to eating the orange globes.

That is why I came up with these pumpkin chili, which is filling and delicious.

pumpkin chili crock

My pumpkin chili is a hearty stew that gets a boost of fiber and Vitamin A from the pumpkin. Pumpkin is very healthy and ½ cup contains 50 calories, 3 gram of fiber and 280 percent of your daily Vitamin A needs. You can’t really taste the pumpkin in my recipe, but it bulks it up and gives it a velvety texture. I add a little cinnamon to compliment the pumpkin this dish.

I love using bison instead of beef in this recipe, but it’s more expensive and not as readily available. Bison is healthier than beef and we are big bison fans.

punpkin c

Fall is my favorite time of year and I feast on pumpkin. I actually bought six cans last week. In my recipes, I usually use canned instead of real pumpkin because most people don’t have time to roast and puree a whole pumpkin.

I hope you enjoy it.

Pumpkin Chili

Serves 6-8

2 cups chopped red onion

1 pound ground sirloin or some lean ground beef

2 heaping tablespoons chili powder

1 tablespoon cumin powder

1 teaspoon cumin seed

½ teaspoon garlic salt

½ teaspoon ground cinnamon (or more to taste)

1 (6-ounce) can of tomato paste

1 ½ cups water or chicken broth

1 (14.5-ounce) can of diced tomatoes

1 ¼ cups salsa

2 cloves chopped garlic or 1 tablespoon dehydrated garlic

1 (15-ounce) can pumpkin puree

¼ cup chopped cilantro

1 (15-ounce) can chili beans

*1 (4-ounce) can green chilies (optional)

Shredded cheese, chopped onion, cilantro to garnish

*The green chilies make this dish spicy, so I skip those when serving my family.

Heat a large heavy-bottomed pot over medium-high heat and when hot, add onions and beef.  Cook for 3 minutes. Then add chili powder, cumin, garlic salt and cinnamon and cook until ground beef is cooked. If necessary, drain beef before going on (if you use lean beef you won’t have to drain it).

Next, add tomato paste and water and cook for 2 minutes until the paste dissolves into the water. Then add salsa, garlic, pumpkin, cilantro and reduce heat to a simmer for 30 minutes (the longer you simmer, the better the flavor). Add beans and cook 10 minutes before serving.

This chili is even better the next day, but some of the cinnamon flavor will fade because of the strong flavors of garlic, cumin and tomatoes. To combat this, I sprinkle plain cinnamon on a bowl just before serving for more emphasis on the cinnamon (you could also just double it in the recipe, but try the ½ teaspoon first because you don’t want to overwhelm the dish with cinnamon).

Slow Cooker Apple Butter

I met a family once who planned their annual reunion around apple butter.

I spent the weekend with this clan – about 40 strong- who peeled hundreds of apples on Friday, and then Saturday slowly cooked the apples down over a huge, antique copper pot. They took turns stirring the apples with a wooden spoon that looked like a paddle.

It was a crisp fall day and I sat at watched steam rise from the pot and the aroma of a campfire, apples, cinnamon and cloves fill the air (I was writing a story about their unique tradition).  When the apples had melted into a thick butter-like consistency, they canned the mixture into the night. When that was done, they made a mega batch of biscuits and used the warm biscuits to scrape up the last of the apple butter that still glazed the inside of the pot.

I can’t eat an apple butter stuffed biscuit without thinking of them. I had to stop this photo shoot to gobble up a biscuit.

apple butter biscuit

I love apple season and autumn means the apples are ripe from the orchards to the farmers markets and the grocery stores.  Now, as much as I enjoy apple butter, I don’t have time to make it from scratch so I whip up a slow cooker version.

You have to peel about 10-12 apples, but if you have an apple peeler, then it’s quick.  I use a mix of Granny Smith and red apples for this.

You can make a variation on this recipe by adding ½ teaspoon or ¼ teaspoon of extract once the mixture has been cooked. For example, split the batch in half or thirds and add vanilla extract, or maple or rum (those are my favorites). It’s just a slight twist on the same recipe. I always start with ¼ teaspoon and then double it if I don’t think it’s changed the flavor enough.

apple butter close

Slow Cooker Apple Butter

Makes about 1 1/2 pints

7 cups of peeled and sliced Granny Smith apples

1 ½ cups peeled and sliced red apples (about 2 red apples)

¾ cup brown sugar

¾ cup sugar

1 teaspoon ground cinnamon

1/2 teaspoon ground nutmeg

1/8 teaspoon ground cloves (use less or omit if you don’t like cloves because you can taste it)

1/3 cup apple juice

Place apple juice in the bottom of a slow cooker.

Core, peel and slice all the apples and place on top of apple juice. Stir together your sugar and spices until well combined and sprinkle over the apples. Cover and cook for 10 hours, undisturbed. When done, allow to rest at the warm temperature setting for 1-2 hours. Then turn off and remove the lid and let the mixture stand for 30 minutes to cool.

Place in a food processor and blend until smooth (don’t use all the liquid in the slow cooker or it may be too thin). Place in an airtight container and refrigerate for up to 10 days.

Preserving and using your herbs – and a great pesto recipe

The end of summer means the end of an herb garden is near.

Depending on the weather, you may have several weeks to harvest fresh herbs, but I like to start cutting my plants back now and preserving as many as possible for winter.

If you have a sunny spot in the house, you can bring in oregano, rosemary, and lavender which will usually survive for several months inside. I’ve had mixed luck with basil but it’s worth a try.

Some herbs like rosemary and thyme are easy to dry, while others like cilantro and basil, do not dry well. This week, I have a lot of suggestions on which herbs to dry, freeze or use now (and a great pesto recipe to use up that basil).

First, let’s talk about basil, which is the most commonly grown herb. There’s nothing like fresh basil, but that flavor is hard to capture.  The best way to preserve basil is to make pesto and freeze it.

I recommend buying mini plastic storage containers to freeze basil in smaller portions (about ½ to 1 cup at a time). My husband is a teacher and one of his co-workers, Janice Queen, makes amazing pesto. I asked her to share her recipe. Something I really like about this recipe is it calls for almonds, as well as pine nuts (pine nuts are very expensive, so this is a more economical recipe).  The recipe also calls for a good dose of parsley, which is nice if you’re growing that, too.

Pesto is versatile: use it as a salad dressing, toss it with pasta and fresh tomatoes, or pour it over a block of cream cheese for a quick dip (serve with crackers and French bread).

Herb butters are another wonderful way to use up herbs, particularly rosemary and basil.  All you have to do is soften 1 stick of unsalted butter, stir in 2 tablespoons of chopped basil or 1 tablespoon chopped rosemary. Then spread it on a slice of French bread.  It’s marvelous and an easy and inexpensive addition to a party. You can also add 1 tablespoon finely minced sundried tomatoes to the butter.

If I am serving it at a party, I serve it at room temperature, but if you want herb butter for your family, mold the butter back into a log, place it in plastic wrap and store it in the refrigerator for several days (rosemary butter will last longer than basil).

If you have leftover herb butter, use it in pasta, on vegetables, or spread a pat on a steak.

Another idea to use either fresh or dried herbs is to sprinkle herbs (thyme, oregano, rosemary or a combination are my favorites) on a mix of balsamic vinegar and extra virgin olive oil for a quick bread dip. You can use that recipe to marinate vegetables that you’re going to grill, too. Be sure to add salt to both dishes though.

Ok, now we’ve used fresh herbs, let’s talk about drying herbs.

Before you dry any herb, you want to rinse it gently and pat it dry with a paper towel. Only dry herbs that are in perfect condition, and discard any that are wilted or changing colors.

Certain herbs, like thyme and rosemary, dry beautifully. To dry these herbs all you have to do is cut off the stems, lay them on a piece of parchment paper on a pan and let it rest for about 7 days. After that, pull the leaves off and place in a spice jar away from sunlight or heat.

dried rosemary

I dry my rosemary and buy pretty glass jars and give it away at Christmas. Also, you can use dried rosemary to make an herb butter which is excellent on rolls or whipped into mashed potatoes and makes a good hostess gift.

Mint and oregano have a slightly higher moisture content and are better dried after you pick the leaves off the plant. Don’t let the leaves touch each other as this may increase the chance of the herbs molding before they have a chance to dry. Place the leaves on a paper towel on a baking sheet and cover with another paper towel.  Place them in an oven for 24-48 hours (turn on the light in the oven, not the heat). Leaves are ready when they crumble in your hand.

My favorite thing to do with cilantro is let it go to seed and then collect those seeds which are coriander seeds (and those are expensive in the store). Coriander seeds have great flavor. Another option though is to chop cilantro, place nearly 1 tablespoon in an ice cube tray and fill it with water. Freeze. This retains some of the original cilantro flavor, but will still not be the same.

Hopefully this will help you enjoy the last weeks of your herb garden and stretch that flavor into winter.

Easy Pesto

3/4 cup extra virgin olive oil

2 large garlic cloves, peeled

1/2 cup pine nuts, walnuts, almonds or a combination (I usually use almonds)

3/4 cup grated Parmesan cheese

3 cups fresh basil, no stems

3/4 cup fresh chopped parsley

Salt to taste

In a food processor, combine the oil, garlic, almonds and Parmesan cheese. Then, feed in the herbs and blend until combined.   It is so easy and freezes very well.

Recipe was originally adapted from Mollie Katzen’s Moosewood Cookbook.