
Over the years, I’ve learned not to stress on Thanksgiving because I get most of my work done in advance. Sure, I’m in the kitchen plenty, but I take time to have a mimosa, circle Black Friday ads, watch the parade on TV, and enjoy myself.
The mimosa tradition started with one of my best friends years ago. Where I live, we have an annual 5K on Thanksgiving called The Turkey Trot. Once year, we registered and were pumped to participate. The race is very early in the morning and this morning it was sleeting. It was bitter. We sat in the car and debated.
What should we do? I suggested we ditch the race and instead go shopping and then wind up at my house for a mimosa. We did and it was one of the best Thanksgiving mornings ever.
So many people get insanely stressed on Turkey Day and it’s easy. There’s a lot of food on that table.
But with a good plan, you can avoid a lot of headache.
I have an easy side dish, lots of practical tips and step-by-step plans to help you pull off the biggest cooking day of the year with less stress. Plus, I have tips for a succulent turkey.
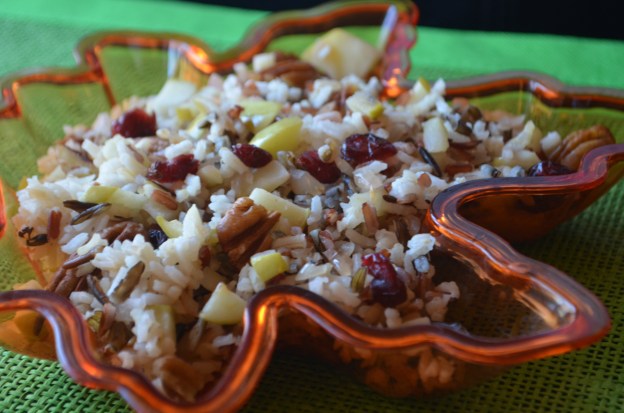
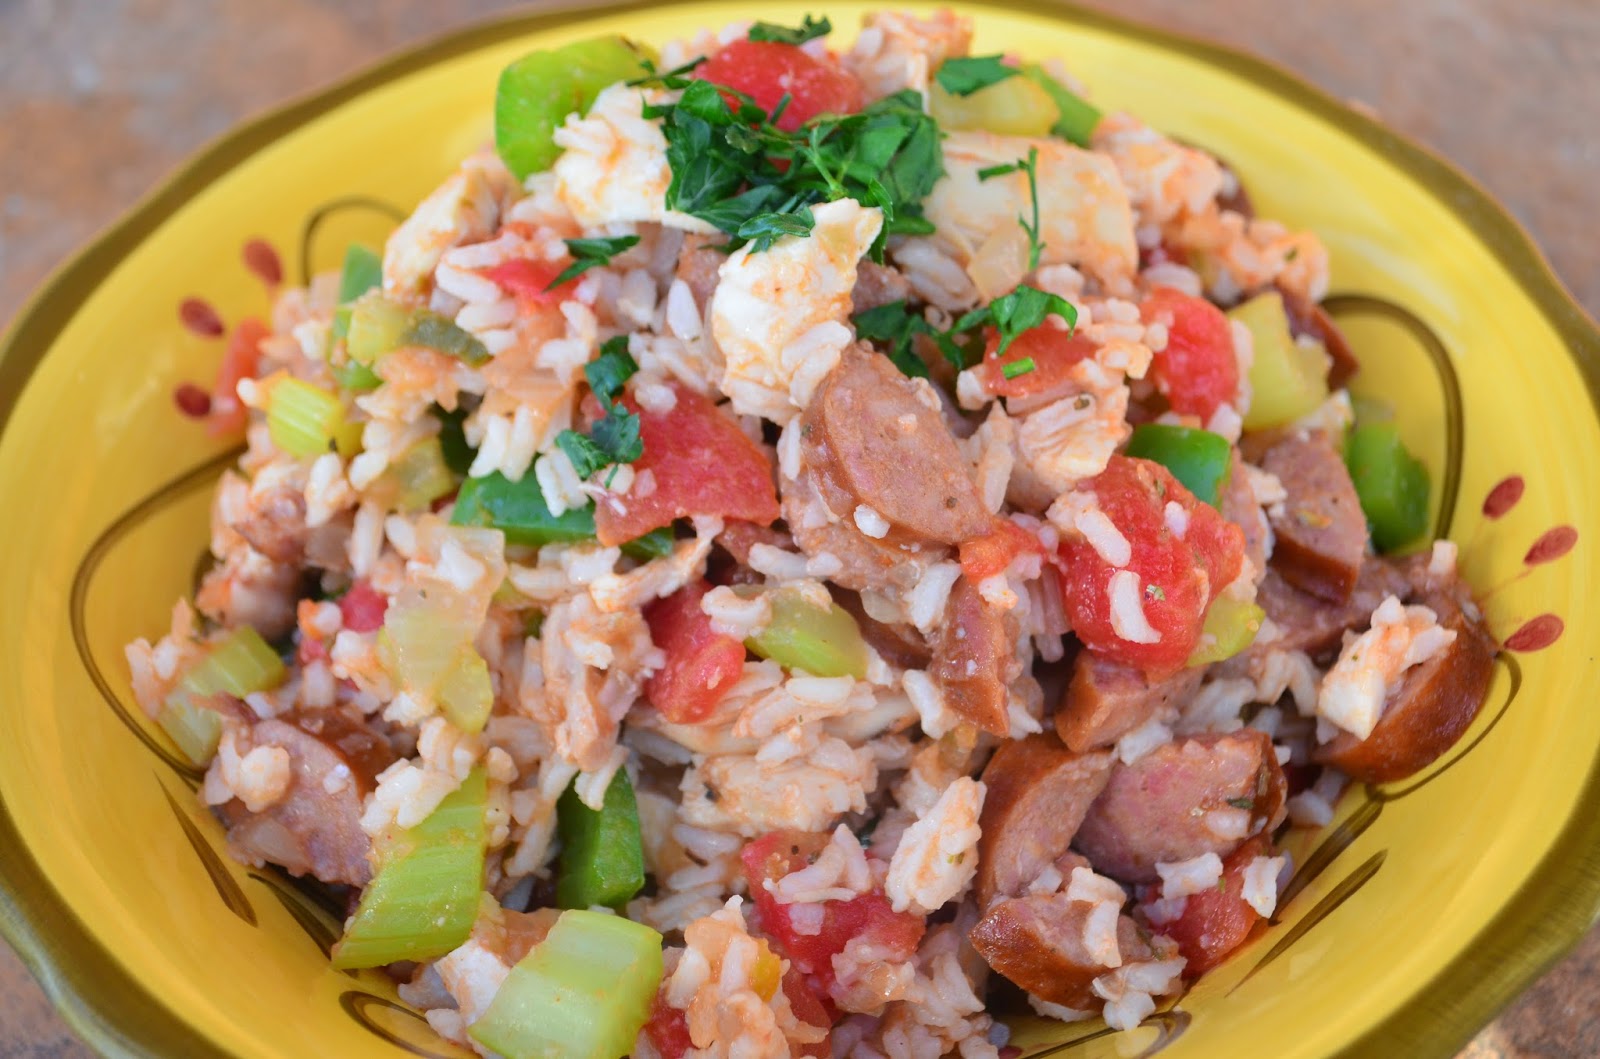
First, let’s talk recipes. I have a marvelous Wild Rice Medley with Apples and Pecans that can be made the day before and reheated. It’s an amazing side dish. Fluffy rice comes together with crunchy pecans, sweet and tart cranberries and apples, and flavorful shallots.

GET ORGANIZED
Right now, it’s list time.
Write out your dinner menu and complete grocery list. Don’t forget to buy extras like paper towels, cooking oil, napkins, butter, extra toilet paper, candles, and drinks.
Add this to the grocery list- buy paper plates and bowls for breakfast on Thanksgiving so no additional dishes pile up while you are cooking. This is a good time to decide what the family will eat for breakfast and potentially lunch (depending on when you serve the meal). I like to keep sandwich stuff on hand to keep it simple.
Once you have the menu, craft a plan of when everything goes in and comes out of the oven. Write down what can be made ahead of time.
Figure out how many burners you will need. This is a great time to decide if you need a slow cooker to keep items warm. If you need extras, you still have time to borrow or buy one.
Also, write down a list of what needs to be done before Thanksgiving (any cleaning tasks).
5-7 DAYS IN ADVANCE
This is a good time to do the bulk of your grocery shopping.
Buy your turkey and know when to defrost it. A frozen turkey placed in the refrigerator will take 24 hours for every 4-5 pounds of meat to defrost. Plan on 1 pound of turkey per person or 1 ½ pounds if you want plenty leftover.
Assign any tasks you will need that day- such as having one person fill the water glasses; another person carve the turkey; make someone responsible for getting all the cold salads out of the fridge, etc.
TWO DAYS IN ADVANCE
Finish your grocery shopping.
Refrigerator space will be limited, so get your coolers out and plan to keep drinks in there.
Make or buy ice if you will have a crowd (or just ask one of your guests to bring a bag of ice).
Chop, chop, chop. One or two days in advance, you can chop most of the ingredients for your recipes. Measure them out, place in baggies and label the baggies. I keep ingredients separate so they don’t flavor each other. Try not to store your onions next to anything sweet. I place the onions baggies in a larger, sealable container.
If you have a cream pie that calls for a cooked crust, you can go ahead and bake your crust today. Once cool, keep it in a container.
Make your cranberry relish.
THE DAY BEFORE
If necessary, wash the dishes you will use.
Iron any linens that need ironing (like the fancy tablecloth).
Bake your pies.
Make as many side dishes as possible, especially chilled salads.
Did you know you can make gravy in advance and just reheat it and add the turkey drippings after the turkey is done? It’s a trick I learned from a New York Times article. Here’s a link to the recipe:http://cooking.nytimes.com/recipes/1015197-make-ahead-gravy
I have a couple adaptations to this recipe. The recipe calls for stock and I always add dried mushrooms and a bay leaf which impart excellent depth of flavor. Remove those after 20 minutes and then add stock to the recipe.
Second, it’s worth investing in a fat separator because you don’t want too much fat from the drippings or it will be overly fatty because there’s already butter in this recipe.
Chill the white wine and other drinks.
If you’re using frozen pies or whipped topping, put those in the refrigerator today (read the back of the box to make sure pies can be thawed).
After dinner, go ahead and set the table for tomorrow.
ON THANKSGIVING
You’re in the homestretch now. The biggest thing you have to tackle is the bird. Here are my tips for a moist bird: I stuff the turkey with butter- lots of butter. I slice about 1 ½ sticks of butter into tablespoons. Then toss the butter in Cajun seasoning (or you can use a dash of salt and pepper instead). The main goal is to season the bird. I put the butter back in the fridge to chill. When it’s cold, I carefully insert the butter under the turkey skin. You want to be sure not to tear the skin because that is the turkey’s natural insulation that helps keep it moist. I place the butter mostly in the breasts, but tuck some under the leg fat, too.
I stuff the cavity with onion, a bay leaf, and make sure to add plenty of salt and pepper to the outside and inside of the bird.
Before placing it in the oven, rub more butter on the outside.
If you don’t have a turkey roaster, you can make a big doughnut out of aluminum foil which will help heat circulate under the poultry and ensure even cooking.
I do not baste because basting allows heat to escape from the oven and can result in uneven baking, which means you’re more likely to overcook the bird.
I cover the breasts with aluminum foil the last 30-45 minutes of baking. Always allow the turkey to rest for 20-30 minutes before carving.
With all that done, you probably only have last minute dishes like dinner rolls. So now, pour yourself a drink and enjoy the moment.
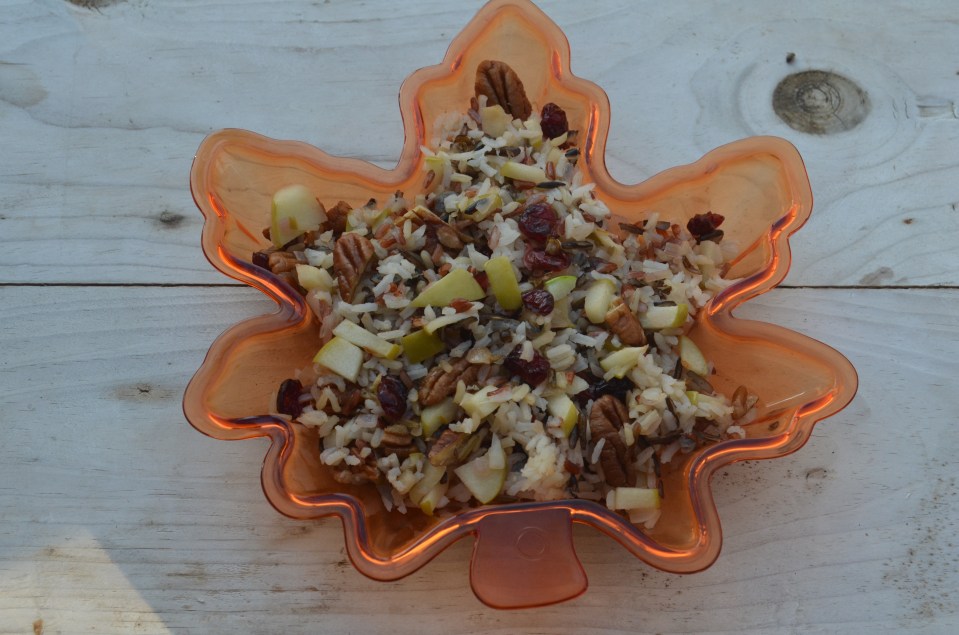
Wild Rice Medley with Apples and Pecans
serves 4-6
1 cup Rice Select Royal Blend (see note)
1 ½ cups of water
½ teaspoon salt
1 teaspoon butter or oil
2 tablespoons canola oil
3 shallots, chopped
1 ½ cups diced Granny Smith apples (do not peel)
½ cup dried cranberries
1 cup pecan halves, roughly chopped
Note: Rice Select Royal Blend is a blend of Texmati white, brown, wild and red rice. It’s available in a plastic container near the regular rice and is sold at Walmart and other stores. If you cannot find it, cook ¾ cup long grain rice according to package directions and ½ cup wild rice according to package directions and then mix the two.
In a medium pot, combine 1 cup uncooked rice, 1 ½ cups of water, ½ teaspoon salt and 1 teaspoon butter or oil. Bring to a boil and stir once. Then cover, reduce heat to a simmer and cook for 15 minutes. Turn off heat and allow rice to rest for 5 minutes. Then uncover and leave uncovered.
While the rice cooks, chop shallots and apples. Break pecan halves in half and set aside.
When rice is done and cooling, heat 2 tablespoons oil in a large skillet. First add the shallots and cook 3 minutes. Then add the apples and cook 3 minutes. Add rice, cranberries and pecans and stir. Add salt and pepper to taste.
This can be made a day in advance and warmed in the microwave. Warming the pecans will make them soft, so if you prefer to keep that crunch, you can omit the pecans until the end (or add half now and half later).
To warm, add 1 tablespoon of water to the rice, cover with plastic wrap and heat 45 seconds. Stir and heat another 45-90 seconds (depend on the microwave). Serve immediately.


